|
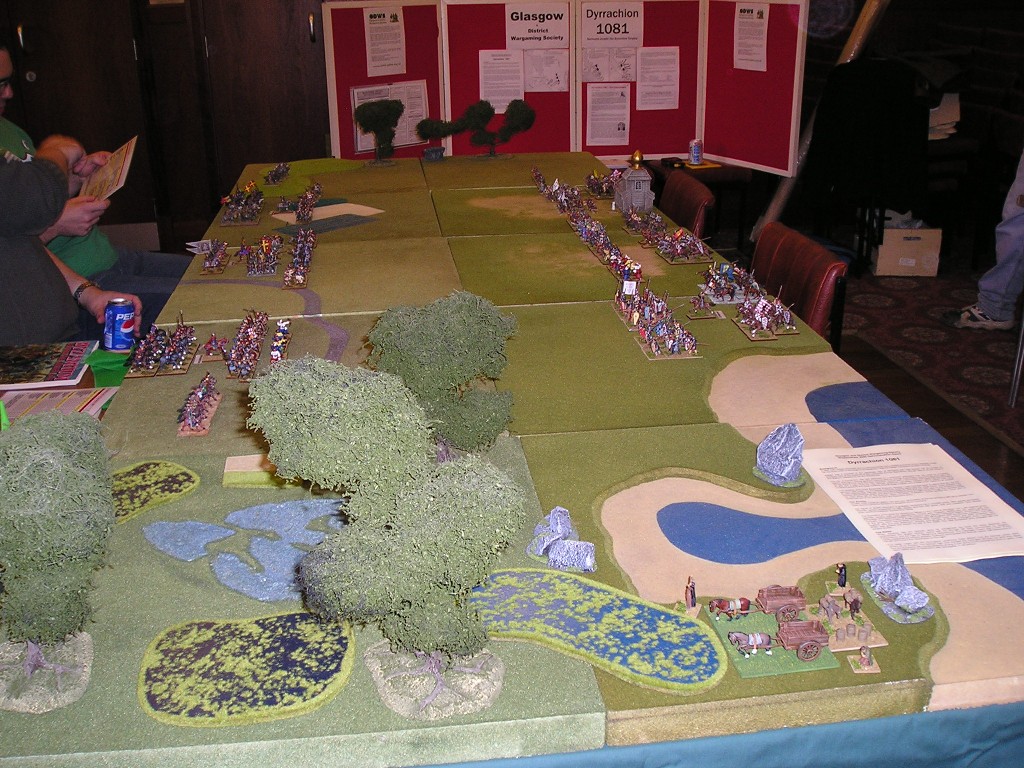
Wappinshaw 2005 Demonstration Game
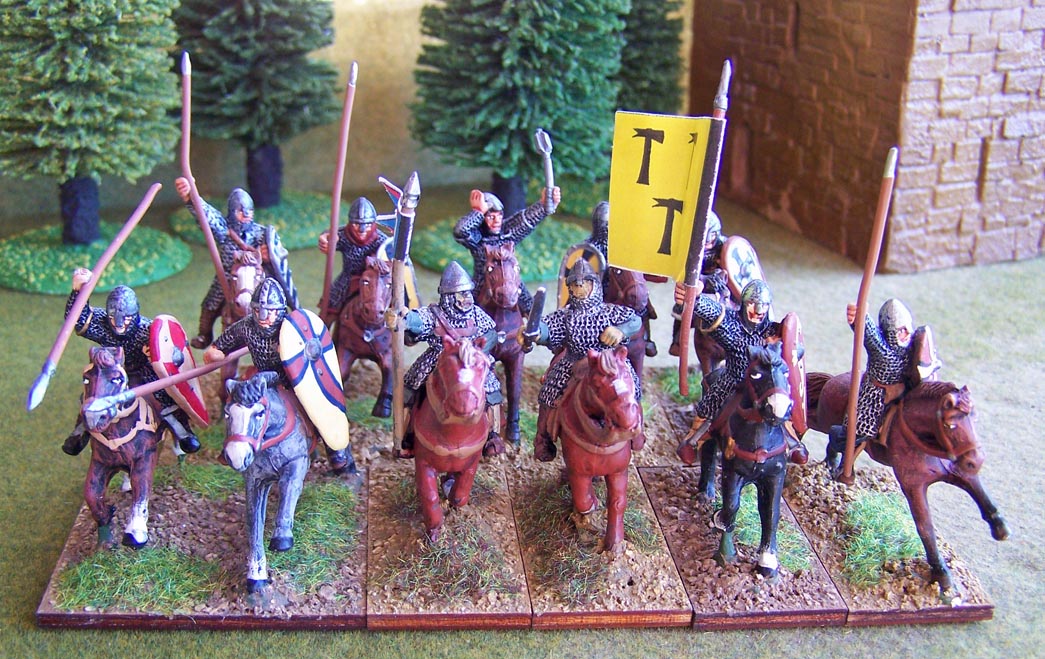
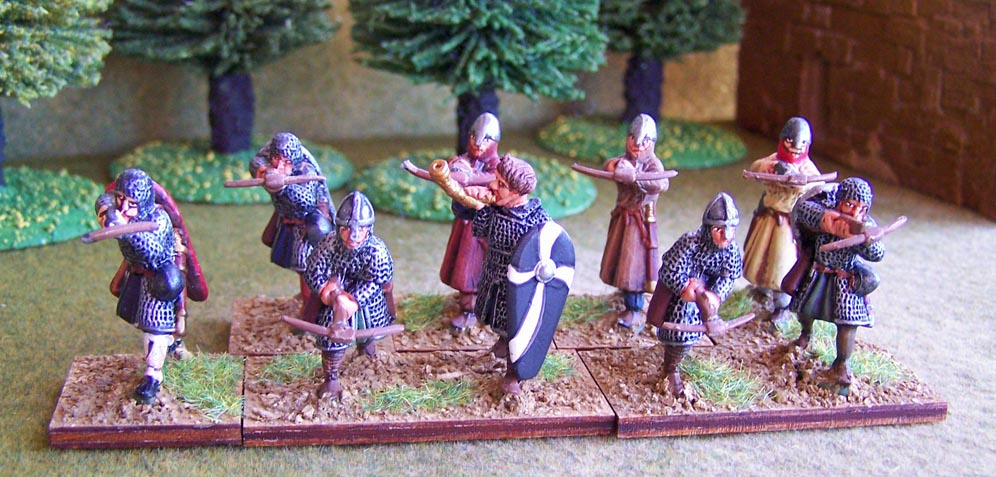
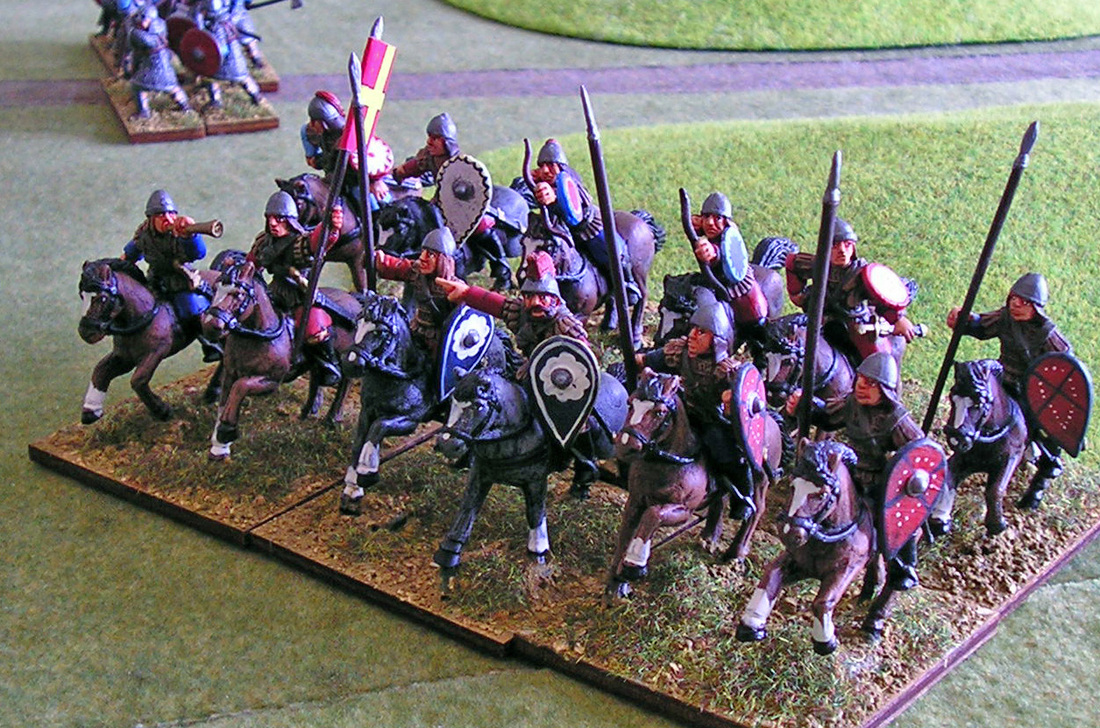
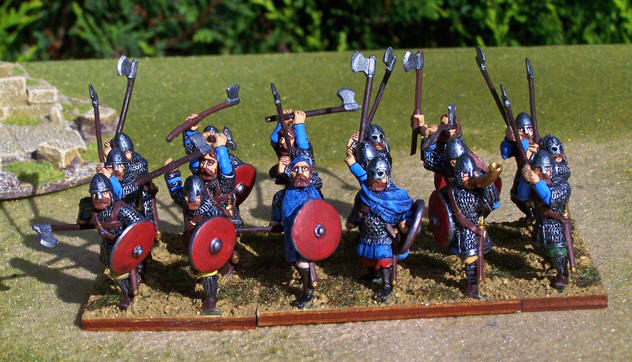
Dyrrachion 1081 Background In May 1081 Robert Guiscard and his Norman/Italian army landed at Avlona on the Albanian coast. He marched north to lay siege to the Byzantine regional capital Dyrrachion (modern Durres). Robert was a member of the Hauteville clan of Normans who had carved out an empire in Southern Italy at the expense of the Lombards and the Byzantines. His aim was to do the same in the Balkans assisted by his son Bohemund. The city of Dyrrachion was well defended on a peninsula separated from the coast by a marshy lagoon and had a strong garrison commanded by George Palaiologos. Guiscard aimed to take the city by assault from land and sea. However, Venice sent a strong fleet that destroyed the Normans at sea and a sally from the city inflicted additional casualties. Despite further losses from fever Guiscard pressed the siege building several siege engines and a siege tower ready for an assault. The recently enthroned Byzantine Emperor Alexios 1 had marched west to relieve the city. As the garrison was under no immediate pressure (having destroyed the siege tower) many advised him to wait arguing that, with the Normans blockaded by land and sea, time was on the Emperor’s side. Alexios favoured the attack and planned a flanking move by light forces through the marshes whilst his main army fell on the Norman camp. However, Guiscard’s scouts spotted the move and he advanced out of his camp to face the Byzantine army. The Armies As with most medieval battles, the size and composition of the two armies is difficult to assess. Our main source being the Emperor’s daughter Anna Comnena. Her figure of 30,000 Normans is probably excessive but it included some 1300 heavily armoured Norman cavalry supported by light cavalry and foot with spear, bow and crossbow. One source even mentions Saracen archers from Sicily. The Byzantine army (post the disastrous defeat by the Turks at Manzikert 1071) still retained some tagmatic cavalry units from Macedonia, Thrace and Thessaly (5000) and two guard units the Exkoubita and Vestiaritai (2000). The infantry core was the Varangian Guard, around 1400 strong, ironically consisting mostly of Anglo-Saxons who left England after the Norman invasion. The bulk of the army were mercenaries including 2000 Turkish horse archers and 4000 Armenian foot together with levy foot spearmen, archers and slingers. A Serbian contingent under Constantine Bodin was present but played no role in the battle. The total Byzantine army probably did not exceed 22,000. The Battle When Alexious saw the Norman army he reorganised his force into three divisions. He commanded the largely infantry centre with his stronger left flank commanded by Gregory Pakourianos and the right by Nikephorus Melissenous. The Varangian Guard was in front of the centre supported by infantry archers. Guiscard commanded the Norman centre, with Bohemund on his left and Count Ami Giovinazzo on the right. The battle began with the Varangians advancing. Feint attacks from the Norman centre were driven off by archers. The Norman right now charged the Varangian left flank but while they stood firm the Byzantine left counterattacked driving Count Ami’s forces towards the shore in panic. They were rallied later by Guiscard’s wife Sichelgaita, in full armour. However, the Varangians also pursued the beaten Normans leaving themselves exposed to an attack on their right by Norman spearmen supported by crossbows. This left the weaker Byzantine centre and right exposed to the full force of the Norman heavy cavalry. They soon disintegrated with the exception of the guard units who resisted long enough for the Emperor to flee. Even a belated sortie from the city failed to turn the tide. The Aftermath The city held out for a further four months, even without George Palaiologos, who was left stranded outside the city during his final sortie. The city was eventually captured by treachery. After that the Normans captured most of Illyria with minimal resistance. However, the Byzantine cause was not lost. Alexios’s agents had been busy raising revolt in Italy and the Pope required Guiscard’s army in Rome where he was besieged. Bohemund remained in the Balkan’s but the Normans where eventually forced to abandon their conquest due to a skilful small scale war. Bohemund would return to Constantinople with the Crusades – but that as they say is another story. The Game The battle is refought using 28mm figures from a variety of manufacturers, although mostly from the Gripping Beast ranges. The rules are Warhammer Ancient Battles (WAB) and full army lists are on the display board. The scenario was originally designed before this week’s publication of the Warhammer Historical ‘Byzantium – Beyond the Golden Gate’ sourcebook. We have amended the army lists and rules to take account of this supplement although we disagree slightly with the order of battle in the Dyrrachion scenario. However, as no two authors agree on most medieval battles we are in good company! Sources John Haldon The Byzantine Wars Tempus Anna Comnena The Alexiad of Anna Comnena Penguin Classics John Julian Norwich The Normans in the South Longmans John Julian Norwich Byzantium – Decline and Fall Viking John Fine The Early Medieval Balkans Michigan Press John W. Birkenmeier, The Development of the Komnenian Army: 1081-1180. Brill, 2002 Graham Loud The Age of Robert Guiscard: Southern Italy and the Northern Conquest |

|
Proudly powered by Weebly