
|
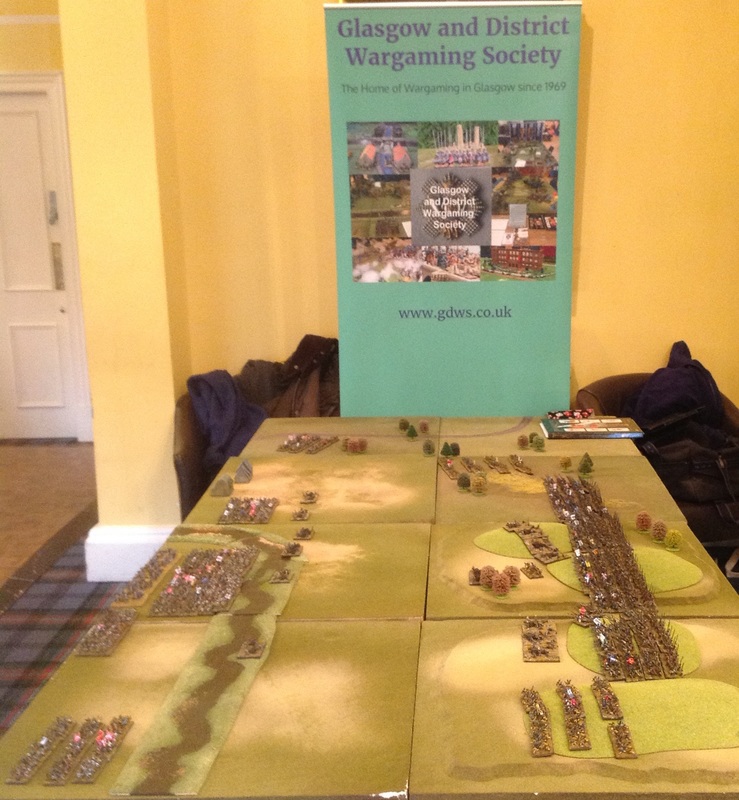
This was our display game at the Scottish Battlefields Trust Wargames Day, held in Prestonpans in February 2016.
The 1513 war started when James IV of Scotland agreed to invade England in support of his French allies. Henry VIII was in France with his main army, leaving the Earl of Surrey to defend the North with mostly local troops. On 22 August 1513 James crossed the border and took the local fortresses in Northumberland. Surrey assembled his army and reached the Scots army at Flodden Hill on 9 September. The Scots position was too strong, so Surrey marched to cut off the Scots line of retreat towards Berwick. James responded by marching to Branxton Hill retaining the advantage of higher ground. At 4pm the artillery opened fire, but despite being lighter the English guns were more effective. James launched an attack against the English levies on the right flank and they fled. Surrey sent his reserve to hold the line. James’s second division attacked but hit boggy ground in front of the English position, giving the English Bill an advantage over the Scots pikes. The largest Scots division led by James himself, hit the same boggy ground. They made some progress, but were attacked on both flanks. James IV was killed in the battle, as was almost all his nobility. The figures are 10mm, mostly from Pendraken and we used the Pike and Shotte rules from Warlord. The historical outcome was reversed with the Scots pikes trampling all before them. 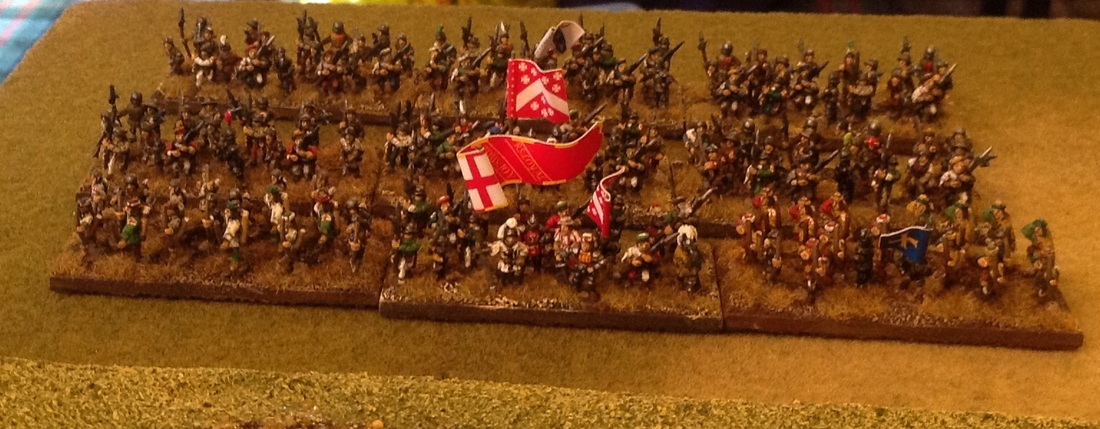
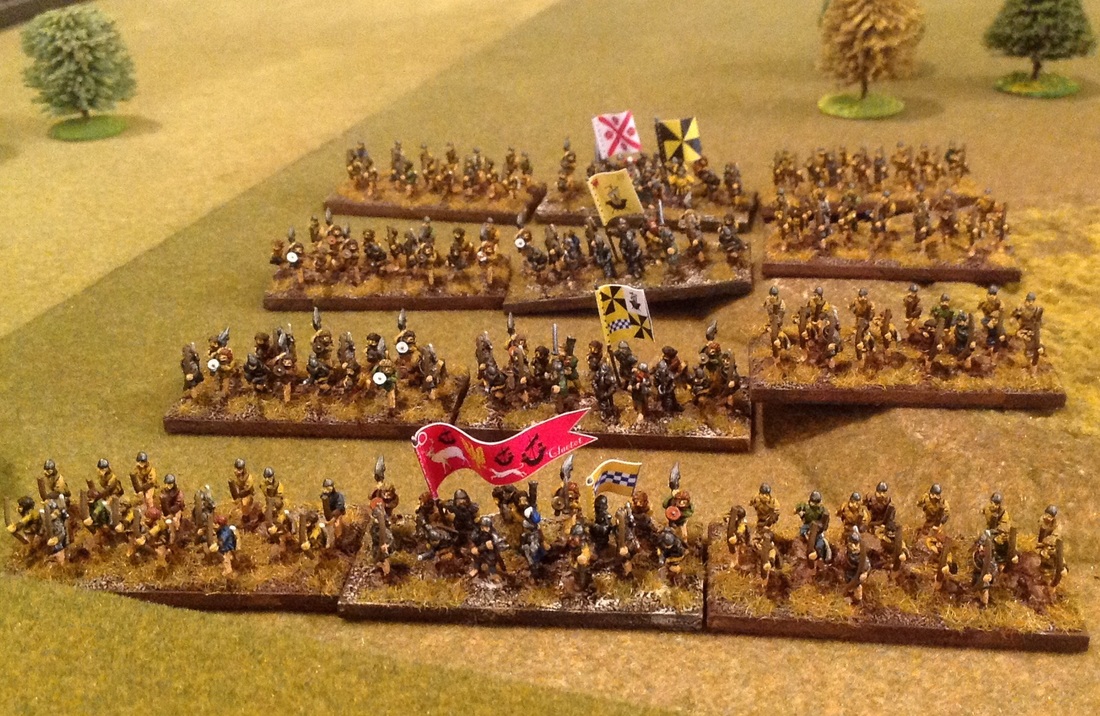
English right wing commanded by Edmund Howard
English centre commanded by the Thomas Howard
English left commanded by the Earl of Surrey
|
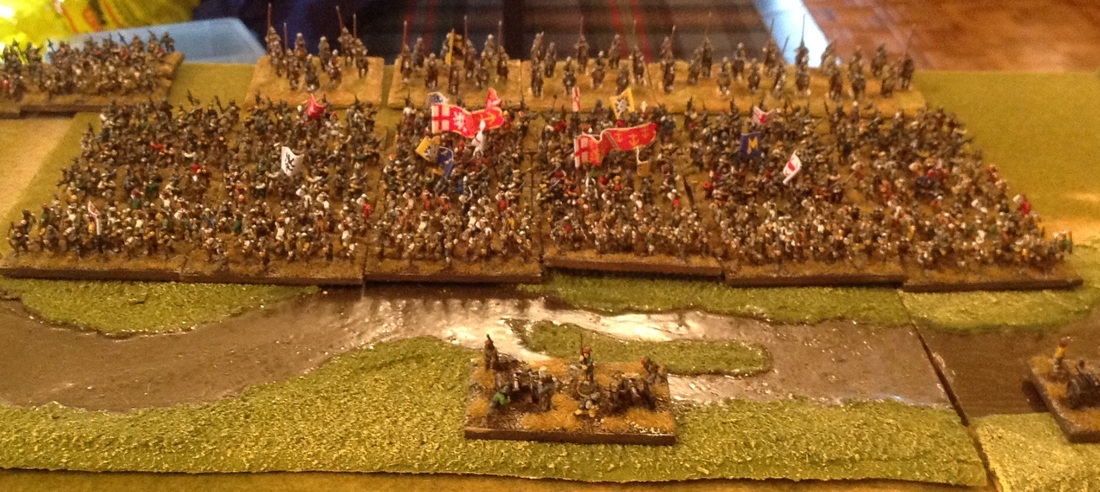
The armies at the start of battle. Scots on Branxton Hill on the right. The English holding the marshy dip on the left.
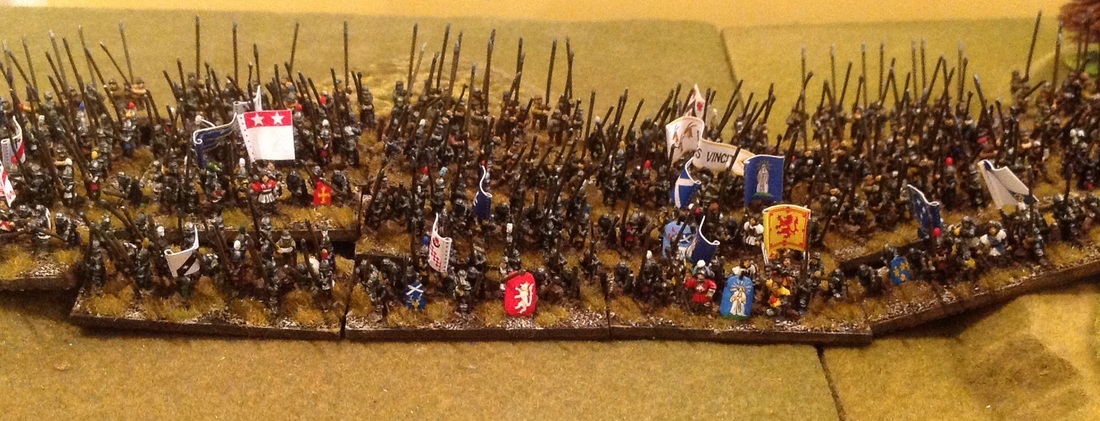
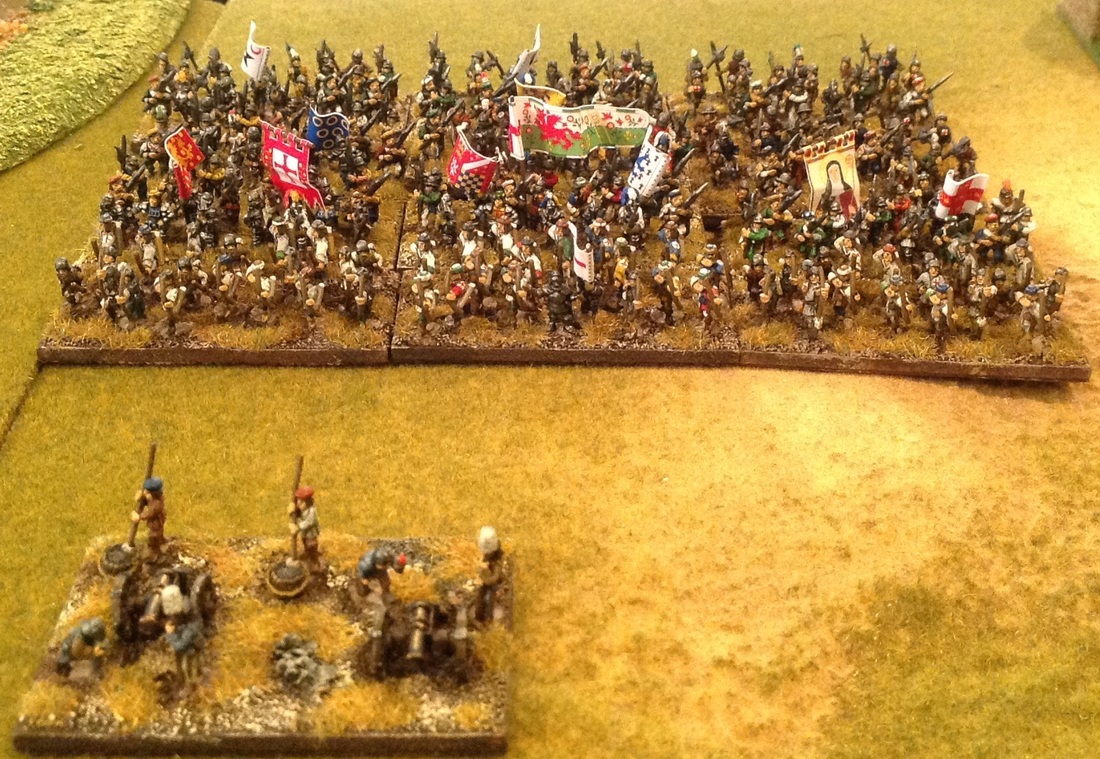
King James Division
Highlanders on the Scots right

Scottish division led by Crawford and Montrose
|
Proudly powered by Weebly